
Decluttering your closet can be an empowering experience, especially when your efforts lead to meaningful donations that help others. But not all donation processes are equal. When done with intention, closet organization can become a powerful act of community support, sustainability, and generosity. This blog offers a step-by-step guide to evaluating, sorting, and donating your clothing so that every item has the potential to make a genuine difference.
Why Thoughtful Donation Matters
The average American throws away approximately 81 pounds of clothing each year. While donating unwanted items is a better alternative to sending them to landfills, many donations still end up unused or discarded due to poor condition or lack of local demand. According to the Council for Textile Recycling, only about 20% of donated clothing is actually sold in secondhand stores in the U.S. The rest is either exported, downcycled, or sent to a landfill.
A thoughtful approach is essential to ensure your donated items reach those in need. The goal isn’t just to declutter your space—it’s to maximize the utility and longevity of each piece of clothing.
Step 1: Set Clear Goals
Start by asking yourself why you want to donate. Is it to support a local shelter, help low-income families, or contribute to disaster relief? Your goal will influence where and how you donate. For example:
- Professional clothing may benefit organizations that help poor people dress for interviews
- Warm clothing can support local homeless shelters.
- Children’s clothes may be perfect for foster care agencies or women’s shelters.
Having a clear purpose will guide your sorting process and help ensure your donations meet real needs.
Step 2: Take Everything Out
Pull everything out of your closet and drawers. This helps you:
- See the full inventory of what you own.
- Identify duplicates, worn-out items, and pieces you no longer wear.
- Make objective decisions rather than emotional ones based on the items’ sentimental value.
Lay everything on your bed or floor to begin sorting.
Step 3: Use the “Four-Pile” Method
Organize your items into four main categories:
- Keep– Items you love, wear regularly, and are in good condition.
- Repair/Alter– Clothes you like but that need tailoring, new buttons, or minor fixes.
- Donate– Gently used items in good condition that others could wear immediately.
- Recycle/Discard– Stained, torn, or worn-out clothing not suitable for donation.
Pro Tip: Ask yourself if you’d feel comfortable giving the item to a friend. If not, it likely shouldn’t be donated.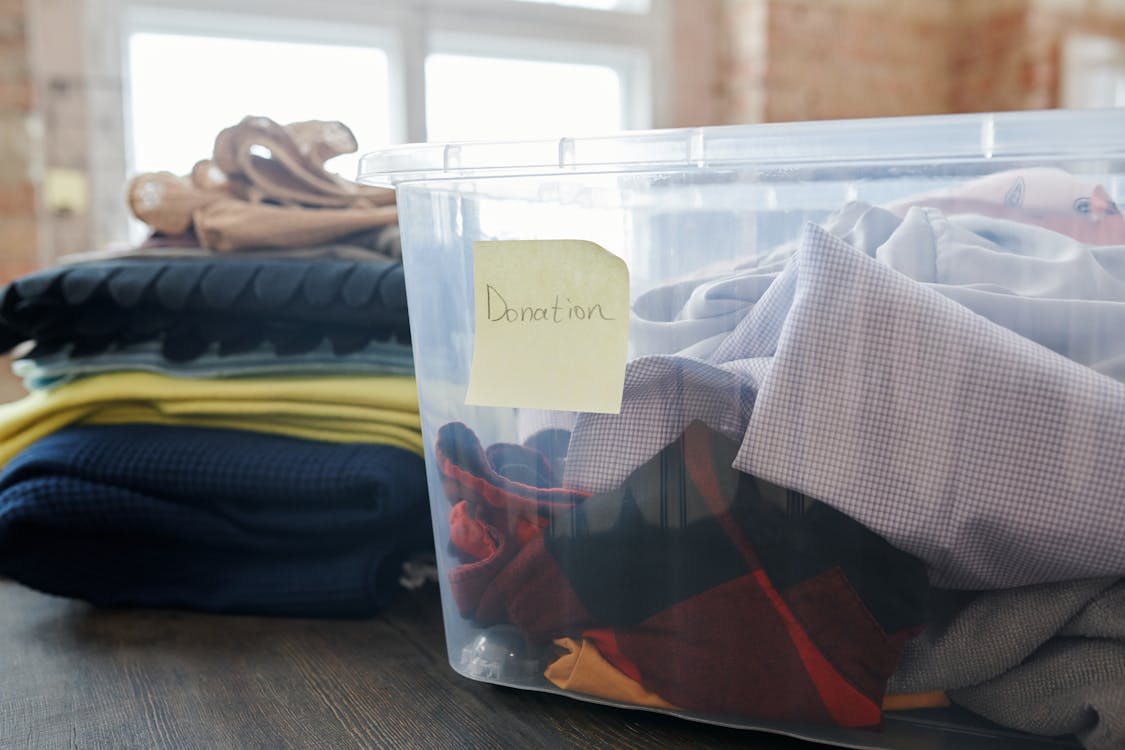
Step 4: Evaluate Clothing for Donation
Go through your “donate” pile and check each item against these criteria:
- Cleanliness: Is the item washed and free of odors?
- Condition: Are there any holes, rips, or stains?
- Seasonality: Would the item be useful to someone right now? (For example, donating winter coats in spring may delay their use.)
- Suitability: Would this item be appropriate for your intended recipient? For instance, business attire is ideal for job-seekers, but not for disaster-relief donations.
Organizations often spend considerable time and resources sorting and discarding unusable items. By pre-sorting, you’re lightening their load and increasing your donation’s impact.
Step 5: Research Donation Centers
Not all charities are the same. Some resell clothes to fund programs, others give directly to those in need. Take time to research:
- Local shelters and nonprofits: These often have the most direct impact.
- Specialized organizations: For example, an organization for children’s items or shoes.
- Religious and community centers: They may have ongoing drives or seasonal needs.
- Thrift stores: Reputable ones fund community programs, but be aware that not everything donated gets sold.
Check if they have any guidelines or restrictions (e.g., no undergarments, only winter items, etc.).

Step 6: Prepare Items for Donation
Before dropping off, take a few extra steps to ensure your donations are well-received:
- Wash and foldall clothing neatly.
- Group similar itemstogether (e.g., pants, shirts, children’s clothes).
- Label bags or boxesif needed.
- Include accessorieslike belts or scarves that match the clothing type.
- Avoid trash bags, which can be mistaken for garbage—opt for reusable or clear bags when possible.
Some organizations also accept hygiene products, socks, or shoes, so check if you can expand your donation.
Step 7: Schedule or Drop Off Donations
Once everything is sorted and packed:
- Schedule a pickupif the organization offers this service.
- Drop off during open hoursto ensure your items don’t get left in the elements or stolen.
- Ask for a receiptif you’d like to claim a tax deduction.
Taking the time to deliver your donations properly demonstrates respect for both the organization and the people they serve.
Step 8: Track What You Give
Keeping a record of your donations can be useful for tax purposes and personal satisfaction. Note:
- The number of items and type (e.g., 5 pairs of jeans, 10 shirts).
- The estimated value (use guides from the IRS or charitable organizations).
- The date and location of your donation.

Step 9: Build Donation Into Your Routine
You don’t have to wait for spring cleaning to make a difference. Set a calendar reminder every few months to do a mini-purge. Keep a donation box or bin in your closet so you can add items regularly. This builds a habit of conscious consumption and prevents clutter from piling up again.
Step 10: Go Beyond Clothing
While clothes are the most common donation, consider giving:
- Shoes– Clean and gently worn.
- Accessories– Bags, belts, and jewelry.
- Coats and outerwear– Especially during colder seasons.
- Linens and towels– Accepted by some shelters and animal rescues.
As always, check the guidelines before donating non-clothing items.

To make your donation efforts even more impactful, consider using a service like We Pickup Clothes. We offer a free donation pickup from home across counties in the Chicagoland area—perfect for anyone looking to organize their closet and ensure their items reach people in need. In 2025, we’re taking it a step further by donating one meal to the Greater Chicago Food Depository for every free donation pickup scheduled, turning your old clothes donation into an act of double generosity. If you’re looking for one of the best places to donate clothes with ease and purpose, our clothing donation pickup service makes it simple, meaningful, and accessible.
Contact us, schedule your free donation pickup today, and declutter with heart.